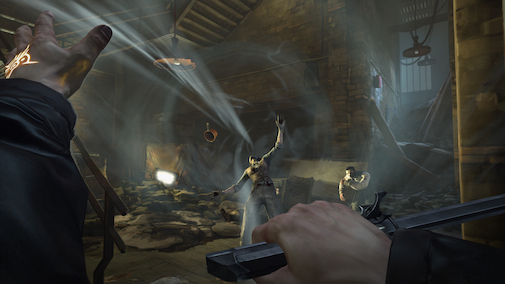
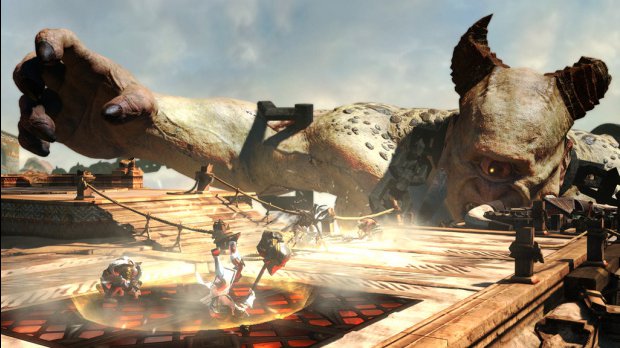
Gameplay Screenshots

Description
God of War Ascension is an upcoming action and adventure game This game developed by SCE Santa Monica Studio and published by Sony Computer Entertainment for the PlayStation 3 and Win. God of War Ascension is scheduled to be released on March 12, 2013. The seventh installment in the God of War series, the fourth is main God of War game and the first in the series to feature play game multiplayer. The God of War Ascension will also feature Stereoscopic in 3D Game.
Game based on Greek mythology God of War: Ascension will focus on protagonist Kratos before he became the Game Ghost of Sparta. The game will be the first chapter in the series part of a saga with vengeance as a central theme.
Story behind God of War Ascension tells the journey of Game redemption from past in sins and the rise of to break free from Ares bond. The game is set six months after Kratos murdered his wife and child. Joystiq Play confirms players will be introduced to a more human Kratos than before with director and CEO Todd Papy stating that theGod of War Ascension will be giving people a look at Kratos human side so fans can relate to him better and understand some of the stuff he went through when he was young. This is Papy also confirmed that Kratos will have the God of War Ascension and that the story takes place after sold his soul.
Features
The God of War Ascension game will offer a multiplayer feature for up to eight Players and Player will be on two teams of four where the teams will try to take control of a map and earn rewards from the gods games.
System Requirements
Minimum System Requirement
CPU: Intel/AMD 2,5 GHz or higher
RAM: 1 GB RAM (XP), 2 GB RAM (Vista/7),
VGA: ATI Radeon HD 3850/INTEL HD/NVIDIA Geforce 8800 or higher, 512 MB RAM
DX: DirectX®: 9.0c
OS: Microsoft Windows XP SP3, Vista SP1 or 7
HDD: 9 GB disk space
CPU: Intel/AMD 2,5 GHz or higher
RAM: 1 GB RAM (XP), 2 GB RAM (Vista/7),
VGA: ATI Radeon HD 3850/INTEL HD/NVIDIA Geforce 8800 or higher, 512 MB RAM
DX: DirectX®: 9.0c
OS: Microsoft Windows XP SP3, Vista SP1 or 7
HDD: 9 GB disk space
Installation Notes:
Mount and play
God of War Ascension Download Links
God of War Ascension
God of War Ascension Download